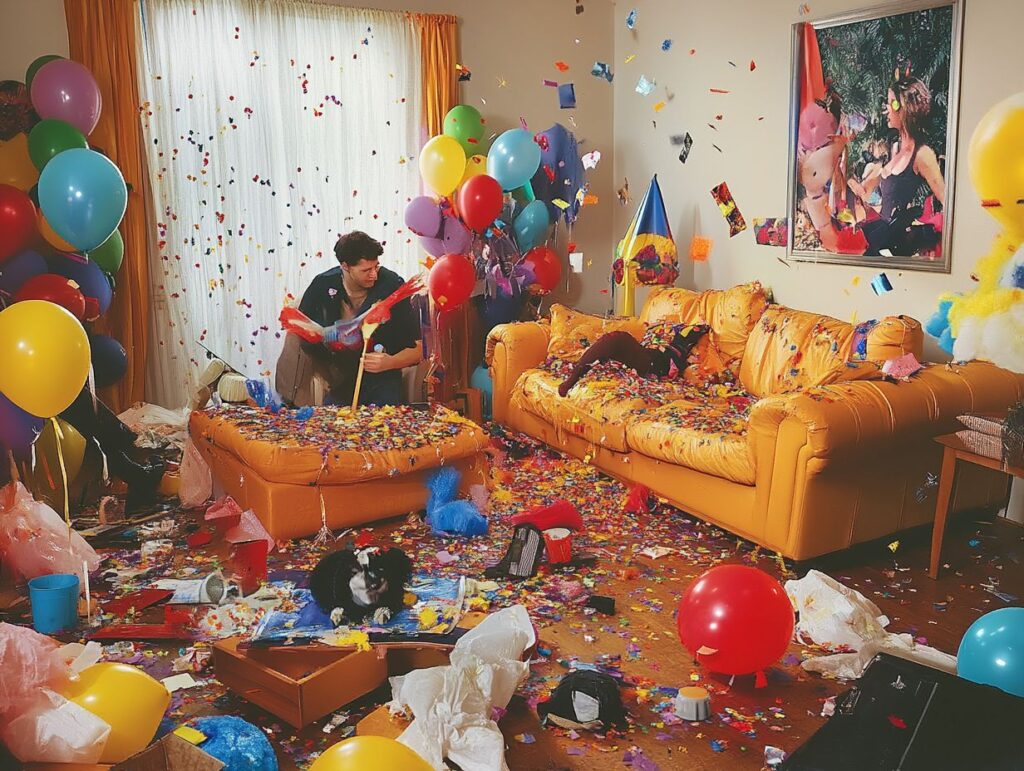
Throwing a themed party is all about fun, creativity, and unforgettable memories. But once the festivities wind down, the reality of cleanup can feel overwhelming.
The aftermath can be daunting, from costume stains to confetti explosions. Don’t worry! This guide will walk you through a step-by-step process to efficiently tackle post-party cleanup. Whether removing stubborn stains or restoring your space to normal, you’ll find practical tips to make the process smoother and far less stressful.
Preparing for the Party Cleanup
A solid plan ensures everything goes smoothly when preparing for the party clean-up. Whether hosting a themed bash with all the frills or a relaxed get-together, the clean-up can feel daunting without some organisation.
Start by gathering your cleaning supplies and assigning roles to your clean-up crew. Planning makes a world of difference.
Creating a detailed clean-up checklist and setting a timeline will minimise stress and maximise efficiency, leaving you with a tidy space for your next event.
Creating a Plan of Action
Creating a cleanup plan for your party is key to ensuring you don’t miss any details. Outlining specific tasks and assigning them to your cleanup crew can boost efficiency and maximise your time. Plus, it’s an excellent opportunity to foster some teamwork among family and friends, turning what could be a dull chore into a fun group activity.
Start by breaking the cleanup down into manageable tasks, such as:
- waste disposal
- surface cleaning
- recycling
Allocating specific time slots for each task will help keep everyone engaged and focused. Make sure to grab effective cleaning supplies such as biodegradable rubbish bags, multi-surface cleaners, and sturdy brushes. Not only do they simplify the cleaning process, but they also show some love for the environment.
Remember to set up a music playlist to lighten the mood. This way, it will feel more like a collaborative event rather than just a chore list. With a solid cleanup plan and the right tools, you can make the whole process both productive and enjoyable.
Cleaning Up Costumes
Cleaning up costumes after a fun-filled themed party can feel daunting, especially when you want to keep them looking great for the next event. Whether your costumes are made from delicate fabrics or sturdier materials, having the right cleaning tips is essential.
Knowing how to clean your costumes effectively can make the cleanup process smoother and more efficient, from tackling stains and odours to ensuring proper fabric care.
Removing Stains and Odours
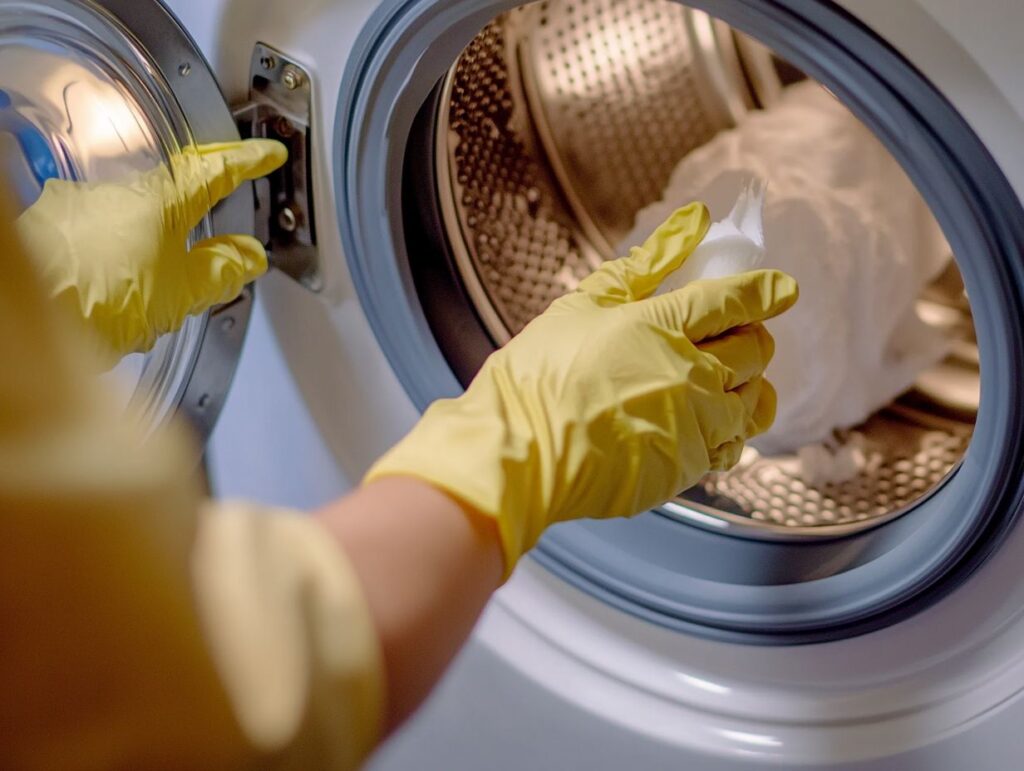
Using the right cleaning agents is essential for keeping the fabric in good shape when removing stains and odours from your costumes. Acting quickly to treat stains can prevent them from settling in, and using effective odour neutralisers will make your costumes smell fresh and ready for the next event.
Knowing how to tackle these issues can make a difference, whether spills from party games or stubborn food smells.
For instance, a simple mix of mild washing-up liquid and water can work wonders if you’re dealing with water-based stains like fruit juice or fizzy drinks. Gently blot the area with a clean cloth so the fabric can soak up the cleaning solution without getting damaged.
If it’s an oil-based stain, a dry-cleaning solvent is usually the best solution, but be sure to test it on a hidden spot first.
To tackle any nasty odours, try using bicarbonate of soda. It’s excellent at neutralising smells and is safe for most fabrics. Just sprinkle a little on the area, let it sit for a few hours, and then vacuum it up.
By incorporating these methods, you can extend the life of your costumes and make sure they look and smell their absolute best.

Tackling Confetti and Other Decorations
Tackling confetti and other festive decorations after a lively party can feel like a Herculean task, but trust me, it can be much simpler and even a little fun with the proper cleaning techniques.
Whether your party featured glittering decorations hanging from the ceiling or vibrant confetti scattered across the floor, knowing how to manage the cleanup in indoor and outdoor spaces will save you time and frustration.
By taking a systematic approach, you can return your house to its original glory in no time.
Efficient Cleanup Techniques
Using efficient cleanup techniques is your secret weapon for tackling all the remnants of your party, from confetti to decorations. Having the right cleaning tools ready—like a vacuum cleaner for the floors and a broom and dustpan for the bigger messes—will streamline the process. Quick techniques can help you tidy up every corner, making your post-party cleanup as easy as pie.
For example, a microfibre cloth can work wonders for grabbing dust and crumbs off surfaces, while a lint roller is perfect for zapping up those pesky bits of glitter or fabric. And don’t forget about a spray cleaner with a clean cloth; it’ll not only make your surfaces shine but also get rid of any sticky residues from food and drinks.
To boost your efficiency, create a cleaning checklist tailored to the specific areas of your space. This will ensure that nothing is overlooked. By following these straightforward methods, you can turn what seems like an overwhelming task into something manageable, allowing you to transition back into everyday life smoothly.
Dealing with Food and Drink Messes
Dealing with food and drink messes is just part of the fun when it comes to party cleanup, but with some clever cleaning tips, you can handle those pesky spills and stains like a professional.
Whether a spilt drink soaks your tablecloth or food crumbs linger on your furniture, quickly tackling these issues can save you from a bigger headache later.
Your talent for sanitising surfaces and reviving your space will keep things welcoming for guests in the future.
Tips for Removing Spills and Stains
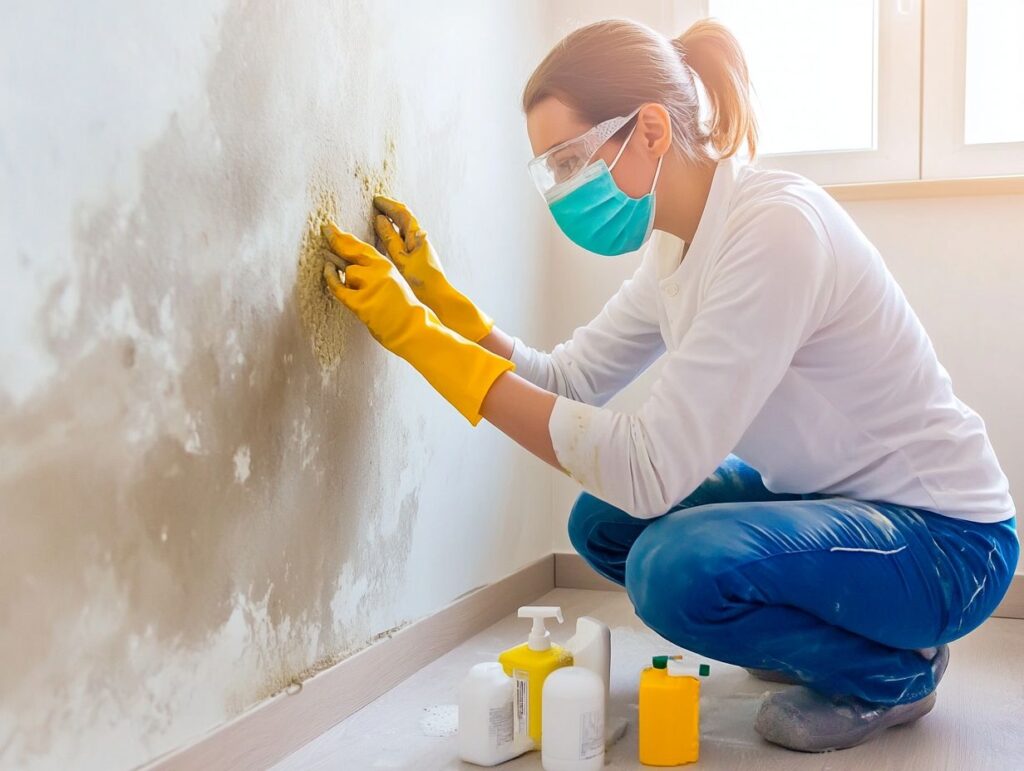
Using the right cleaning agents can make all the difference in tackling spills and stains from your party. Whether it’s food, drink, or even glitter causing the mess, knowing the best ways to handle these spills can save your surfaces from permanent damage. The key is to act quickly; the longer a spill sits, the tougher it gets to clean up.
Warm, soapy water is usually a solid starting point for food spills, especially for sticky sauces and greasy items. If you’re dealing with acidic stains like red wine, the trick is to blot it immediately with a clean cloth and follow up with a mix of hydrogen peroxide and washing-up liquid—it can work wonders!
For drink spills, soda water is your best friend; it lifts stains while neutralising any pesky odours. And when it comes to glitter or craft debris, grab a vacuum cleaner with a brush attachment—it’ll scoop up those particles without spreading them around.
It is very important to be thorough during the cleaning process. Missing even small bits can lead to unpleasant smells and attract pests, which isn’t the vibe you want for your inviting atmosphere.
Restoring the Space to its Original Condition
Restoring your space to its original condition after a themed party means you’ll need to roll up your sleeves and dive into thorough cleaning and organisation. Putting furniture back in its rightful place, hoovering those floors, sorting through leftover decorations, and having the right cleaning tools at your fingertips can make the whole process a doddle.
With a few effective organisation tips in your back pocket, you can quickly whip your space back into shape and prepare it for the next gathering.
Deep Cleaning and Reorganising
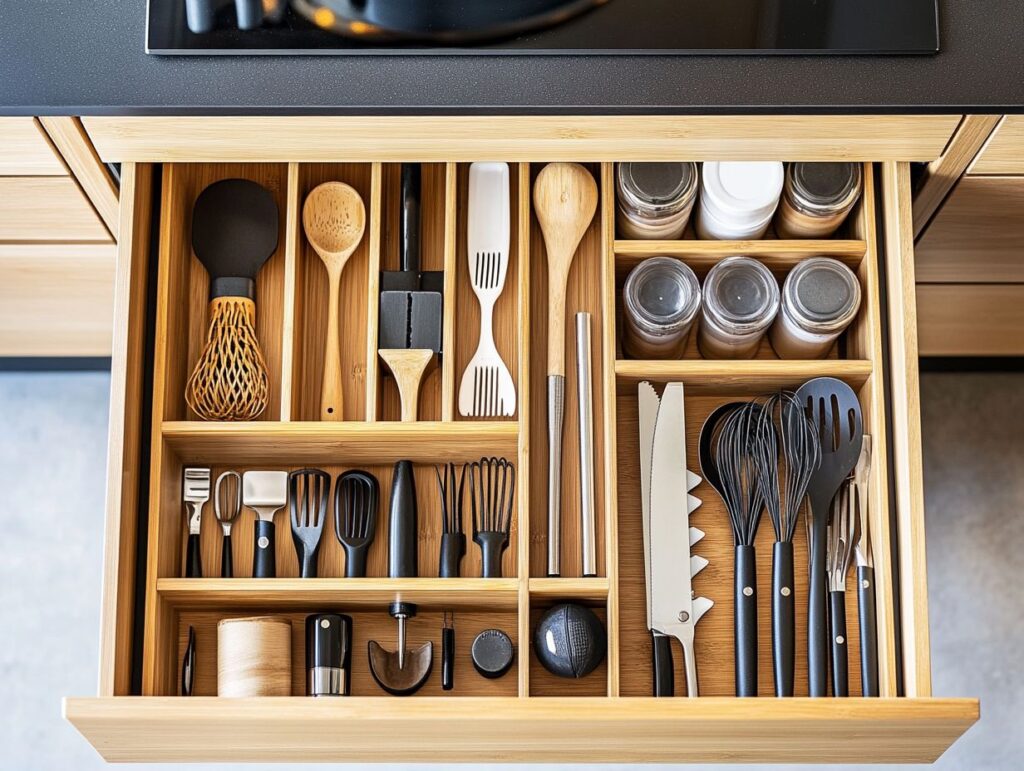
Deep cleaning and reorganising after a party not only refreshes your space but also boosts your cleaning efficiency and help reduce clutter for future events. When you take the time to thoroughly clean surfaces, furniture, and floors while putting everything back in its rightful spot, you create a welcome vibe for your guests. Plus, incorporating smart storage solutions keeps your space tidy and organised for whatever gatherings are on the horizon.
For example, using clear boxes for seasonal decorations or designating a specific cupboard for party supplies can reduce chaos and make finding things a breeze. A well-structured cleaning checklist helps you manage tasks, allowing you to tackle the mess systematically. And don’t forget about under-bed storage or vertical organisers—they can maximise your space while keeping everything accessible.
These techniques simplify your cleaning routine and make your living space more functional. In the end, a thorough, deep clean revives your area and sets the stage for some unforgettable future occasions.
.jpg_11.jpeg)